
Demystifying Peel and Stick Vinyl Flooring
Homeowners seeking an affordable yet stylish way to refresh their living spaces often turn to self-adhesive vinyl flooring. This innovative, do-it-yourself (DIY) flooring solution features a pre-applied adhesive backing that entirely removes the need for messy glues, heavy trowels, or highly specialized tools. It offers an exceptionally straightforward installation process that appeals directly to budget-conscious renovators and busy property owners alike. By replicating the visual textures, grain patterns, and rich colors of much more expensive natural materials, such as authentic hardwood planking and polished slate or marble stone, peel and stick vinyl delivers a high-end, sophisticated aesthetic at a small fraction of the cost of traditional materials. This cost-efficiency allows homeowners to allocate their remodeling budgets to other vital areas of their property renovations.
One of the standout characteristics of self-adhesive vinyl flooring is its remarkable versatility across various residential applications. Unlike rigid flooring materials that require complex, time-consuming subfloor reconstructions, these flexible planks and tiles can be successfully installed directly over a wide range of existing solid floors. This compatibility includes cured concrete slabs, existing wood floorboards, and even well-secured ceramic tiles, provided the baseline surface is thoroughly clean, dry, and structurally flat. This highly adaptable nature makes peel and stick vinyl an incredibly popular choice not only for long-term homeowners but also for renters who wish to upgrade their temporary living spaces. It allows them to enjoy a customized look without initiating permanent, destructive alterations that could violate lease agreements or require intensive restoration when moving out.
The Practical Benefits of Choosing Self-Adhesive Vinyl
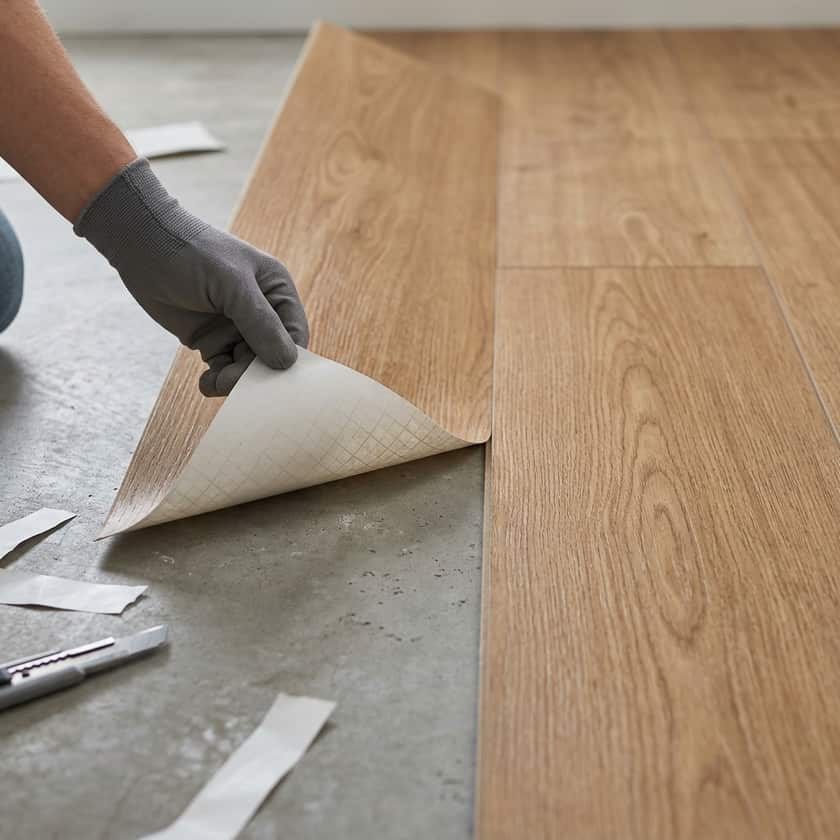
Beyond its clear aesthetic appeal, the primary draw of peel and stick vinyl flooring is the immense savings on professional labor costs. Since the installation process is straightforward enough for a single individual to complete over a weekend, there is no pressing requirement to hire expensive flooring contractors. The basic physical process remains remarkably consistent regardless of the size or layout of the room: you carefully peel away the protective paper backing from the tile or plank, align it precisely with your layout lines, and press it firmly into place onto the prepared subfloor. This hands-on simplicity provides a profound sense of personal achievement alongside immediate financial savings, making home improvement accessible to beginners.
- Excellent Water Resistance: The synthetic composition of vinyl makes it highly resistant to water penetration, which is a major advantage in moisture-prone rooms.
- Stain and Scratch Protection: Modern wear layers protect the printed design from daily foot traffic, accidental spills, and pet claws.
- Simplified Maintenance Routines: Keeping these floors looking pristine requires only routine sweeping and occasional damp mopping with a mild detergent.
- Comfort Underfoot: Unlike cold ceramic tiles, vinyl retains a slightly warmer, more forgiving temperature and texture underfoot.
- Low Tool Requirements: Standard utility knives, tape measures, and straightedges are typically the only tools required to achieve precise cuts.
Critical Considerations and Subfloor Preparation
While the actual laying of peel and stick vinyl is remarkably easy, the ultimate longevity, stability, and performance of the floor depend almost entirely on the preparation of the underlying surface. Before any adhesive backing makes contact with the subfloor, that surface must be meticulously cleaned, completely dried, and perfectly leveled. Any remaining dust, grease, moisture, or loose debris will severely compromise the adhesive bond, leading to shifting, lifting, or peeling tiles over time. It is absolutely vital to repair any existing cracks, deep grout lines, or uneven wooden seams prior to beginning the installation process. Taking the time to patch and prime ensures a flawless, professional finish that will resist wear and tear for years.
| Subfloor Material | Required Preparation | Suitability Level | Adhesive Considerations |
|---|---|---|---|
| Concrete | Must be fully cured, dry, level, and free of dust or sealing compounds. | Excellent | Highly receptive if completely dry and sealed with an appropriate primer. |
| Plywood / Wood | Sanded smooth, joints filled, and entirely clean of splinters. | Very High | Porous wood may require a latex-based primer to prevent over-absorption. |
| Ceramic Tile | Grout lines must be filled level with a patch compound. | Moderate | Requires a perfectly flat surface; deep grout lines will telegraph through vinyl. |
| Existing Vinyl | Must be single-layered, non-cushioned, fully adhered, and wax-free. | Moderate | An embossing leveler may be needed if the old vinyl has texture. |
Comparing Peel and Stick with Click-Lock Flooring Options
When exploring local flooring alternatives, homeowners often compare self-adhesive options with floating click-lock vinyl flooring. While peel and stick products rely on a pressure-sensitive adhesive backing directly applied to the subfloor, click-lock planks snap together at the edges, creating a unified floating floor. Click-lock flooring is often thicker and offers superior moisture barriers, making it an exceptional choice for areas prone to standing water. However, peel and stick alternatives remain much easier to cut, adapt to irregular spaces, and replace if a single tile becomes damaged, offering an unmatched level of convenience and cost savings for budget-focused residential upgrades.
Step-by-Step DIY Installation Strategy
To achieve a professional-grade outcome, DIY installers should follow a systematic approach. First, allow the vinyl materials to acclimate to the room's temperature and humidity for at least forty-eight hours prior to installation. Begin the process by finding the exact center point of the room and drawing perpendicular layout chalk lines. This ensures your pattern remains balanced and symmetrical as you work outward toward the walls. When cutting vinyl planks or tiles around corners, doorways, or heating vents, use a sharp utility knife to score the surface deep enough to snap the material cleanly. Work in small sections, peeling the backing only when you are ready to place each piece.
Long-Term Care and Maintenance Guidelines
Maintaining the pristine appearance of your new self-adhesive vinyl flooring is incredibly simple and requires very little ongoing effort. For daily care, a quick sweep or vacuum with a soft brush attachment will efficiently remove loose dirt and abrasive grit that could dull the finish. When deeper cleaning is required, use a well-wrung damp mop paired with a gentle, non-abrasive detergent specifically formulated for vinyl surfaces. Avoid flooding the floor with excessive amounts of water, as standing liquid can eventually seep down between the seams and weaken the underlying adhesive. Using protective felt pads under heavy furniture legs will also prevent scratching and indentation.