
Setting Realistic Expectations for Budget Vehicles
Finding a reliable vehicle for around $1,000 is an incredibly ambitious goal in today's automotive market, especially for U.S. seniors who need dependable, safe transportation on a fixed income. It is important to treat this price point as a strict budget target rather than an assured outcome. At this level, buyers must shift their focus entirely away from cosmetic perfection, paint quality, and modern tech features toward basic mechanical reliability and structural safety. A methodical approach is essential to navigate these highly competitive waters. By remaining patient and prioritizing functional health over appearance, you can find a vehicle that serves your mobility needs without immediately draining your wallet on unexpected repairs.
Step 1: Expanding Your Search Channels
Very low-priced vehicles may be uncommon on mainstream dealership lots, so compare several legitimate search channels rather than depending on one source. Online marketplaces, local classifieds, community bulletin boards, referrals from people you know, and publicly advertised inventory from licensed sellers can each produce leads. A familiar or local source may make communication easier, but it does not establish condition, ownership, or value. Apply the same screening questions to every listing, avoid paying before an in-person review, and record where and when each lead appeared so that you can compare current information rather than memory.
- Senior center newsletters and community bulletin boards
- Referrals from friends, family members, neighbors, or local organizations
- Local newspaper classifieds and established neighborhood groups
- Publicly listed inventory from licensed local dealers
- Reputable online classified platforms filtered to nearby sellers
Step 2: Initial Screening and Red Flags
Before spending time and money traveling to view a vehicle, conduct a preliminary phone or email screening. Ask about the title status, titled owner, maintenance history, current warning lights, known defects, and reason for sale. The seller's identification should match the titled owner's name, or the seller should be able to show clear legal authority to complete the transfer. Branded, missing, or unclear title records require additional research and may affect registration, insurance, financing, or resale depending on state rules. If answers conflict with the listing, the seller withholds the VIN, or you are pressured to send money before inspecting the vehicle, remove that candidate from the short list.
Step 3: Comparing Potential Candidates
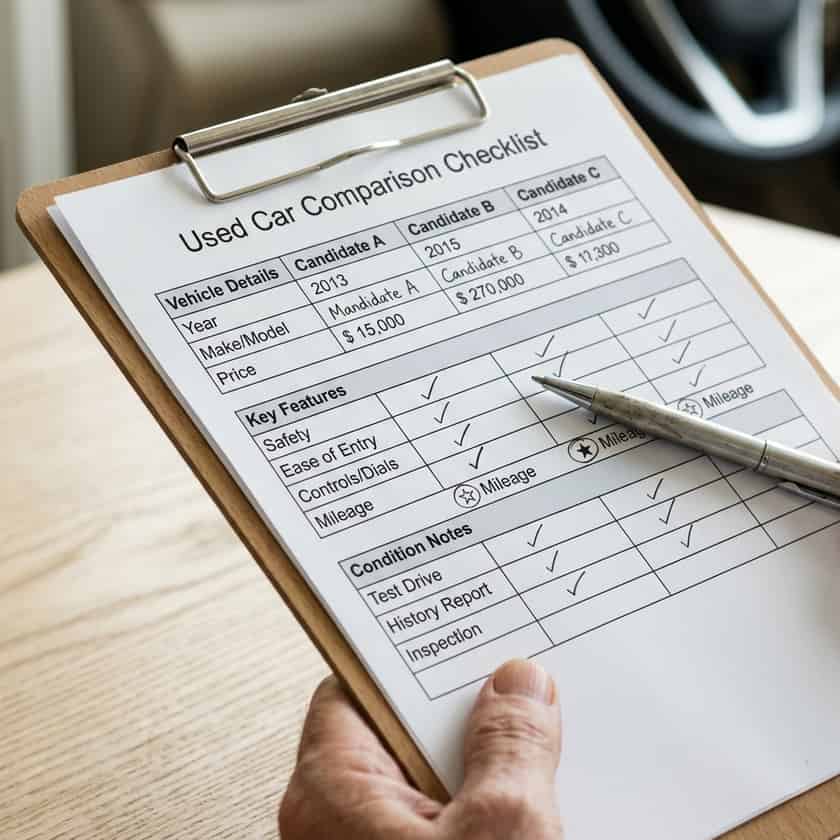
When managing multiple options, organize details in a structured way so that every candidate is judged by the same evidence. Compare at least two or three vehicles when the market provides enough legitimate choices, but do not keep a weak candidate merely to reach a number. Record the asking price, mileage, title information, maintenance documentation, tire and brake condition, warning lights, estimated immediate work, and the date each fact was verified. A physical or digital comparison sheet helps you focus on ownership, condition, and expected costs instead of cosmetic appeal or sales pressure.
A higher-mileage vehicle with detailed records may be easier to evaluate than one with fewer recorded miles but no documentation, yet neither factor decides the outcome by itself. Mark unknown items visibly as unknown rather than assuming they are acceptable. Use the seller's answers to plan the in-person visit, then update the comparison sheet with observations and a mechanic's findings. Move only the strongest documented candidates forward, and note why each rejected candidate was removed so the same concern is not forgotten later.
| Metric | Ideal Status | Acceptable Status | Immediate Rejection |
|---|---|---|---|
| Title Status | Clean title, in seller's name | Clean title, ready to transfer | Salvage, rebuilt, or missing title |
| Powertrain | Starts smoothly, shifts cleanly | Runs well, minor slow oil leak | Active exhaust smoke, gear slipping |
| Tires & Brakes | Excellent tread, firm pedal feel | Moderate tread, safe stopping | Bald tires, spongy pedal, metal grinding |
| Rust & Frame | No rust or minor surface spots | Minor body rust, solid underside | Severe structural rust, compromised frame |
Step 4: Conducting the On-Site Inspection
Once you have selected a top candidate, arrange a physical inspection during daylight hours and, if helpful, bring a trusted companion. Look for active leaks, corrosion, damaged tires, warning lights, unusual noises, and signs of inconsistent repairs. Fluid appearance can provide clues, but it does not diagnose the vehicle by itself, and some components are not designed for owner checks; follow the owner's manual and avoid opening a hot cooling system. Test basic safety equipment, including lights, turn signals, wipers, seat belts, and the defroster. Ask an independent mechanic to perform a pre-purchase inspection and confirm the inspection scope and price before authorizing it.
- Verify the vehicle identification number matches the title documents
- Inspect the engine oil and coolant for clean, proper coloration
- Examine all four tires for dry rot, uneven tread wear, or cracks
- Verify all exterior safety lights and cabin safety signals are functional
- Test the brakes on a quiet road to ensure straight, quiet stops
- Observe the tailpipe for heavy blue, black, or white exhaust smoke
Step 5: Finalizing the Transaction Legally
Complete the transaction only after verifying the vehicle identity, ownership documents, agreed price, and your state's transfer requirements. The seller's photo identification should match the titled owner's name, unless valid documents establish another person's legal authority to sell. Use a signed and dated bill of sale containing the VIN, price, parties, and any disclosures required by your state, and complete the title exactly as the motor-vehicle agency instructs. Before payment, check whether registration, emissions, safety inspection, insurance, tax, or temporary-tag rules will affect when the vehicle can be driven. Keep copies of the listing, messages, inspection report, receipt, bill of sale, and transferred title.
Step 6: Applying a Final Decision Rule
After inspections, compare the finalists using the same written rule. First remove any candidate with unresolved ownership questions, unsafe conditions, or a seller who will not allow reasonable verification. For the remaining vehicles, add the purchase price to documented immediate costs such as registration, required inspections, tires, brakes, or repairs identified by a mechanic. Keep uncertain repairs in a separate risk column instead of treating them as zero. Then ask whether the total fits your budget while leaving room for insurance and routine maintenance. If no candidate meets the rule, the correct outcome is to keep searching, revise the budget, or consider other transportation options—not to choose the least concerning vehicle under pressure. Write down why the selected candidate passed; this final note makes the decision easier to review with a trusted person before money changes hands.