
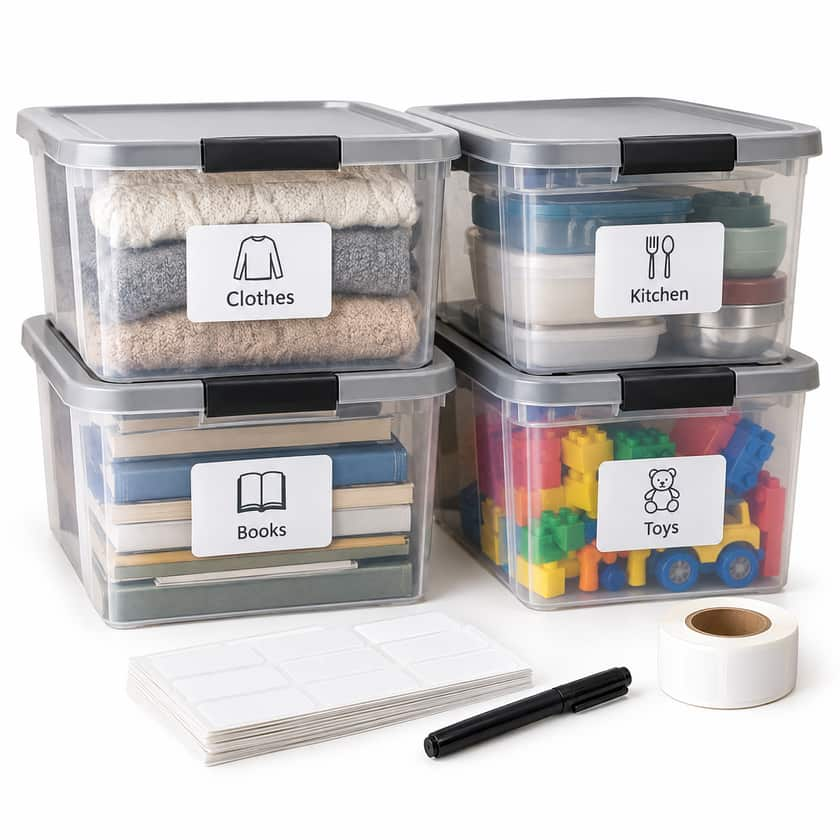
Organizing a home often comes down to how effectively you manage stored belongings. Whether you are packing items away for a seasonal rotation, decluttering a garage, or preparing for an upcoming residential move, clearly identifying what sits inside each container saves significant time and effort. Without an orderly labeling method, finding a specific kitchen utensil, winter coat, or set of holiday decorations can quickly turn into an exhausting treasure hunt through identical cardboard or plastic bins.
A systematic approach to labeling household storage boxes transforms chaotic storage spaces into functional, accessible environments. This guide breaks down the essential tools, structural systems, and practical steps needed to label containers clearly, maintain long-term inventory, and ensure that every member of the household can find or return items without confusion.
Essential Supplies for Effective Box Labeling
Before packing and marking containers, gathering reliable labeling tools ensures that tags remain intact and legible regardless of humidity, temperature, or handling.
- Heavy-Duty Permanent Markers: Choose broad-tipped, waterproof permanent markers in dark colors, such as black or dark blue. Fine-point pens are difficult to read from a distance or in poorly lit storage areas.
- Color-Coded Packing Tape or Stickers: Colored adhesive tapes or neon round stickers provide an immediate visual cue that indicates a box's destination or category before anyone reads the text.
- Clear Self-Adhesive Pouches: Clear document sleeves or label holders allow you to slip detailed itemized lists into a protective pocket on the side of a tote. These are particularly valuable for clear or opaque plastic bins that are reused often.
- High-Adhesion Label Stock: Standard paper labels often peel off plastic containers over time, especially in hot attics or damp basements. Vinyl or synthetic labels designed for heavy-duty use maintain adhesion far better.
- Painter's Tape for Temporary Markings: If you frequently reassign storage boxes, placing a base strip of high-grade painter's tape allows you to write clearly and remove the label later without leaving gummy residue.
Key Information to Include on Every Label
Writing "Miscellaneous" or "Things" on a box guarantees confusion months later. Every label should provide a balanced level of detail that answers three essential questions: where the box belongs, what general category it contains, and how it should be handled.
1. Destination or Room Assignment
Write the destination room prominently at the top of the label in large block letters. For moving purposes, this tells movers or family members exactly where to set the container down. For long-term home organization, it dictates where the bin lives—such as "Basement Shelf A," "Master Bedroom Closet," or "Garage Rack 2."
2. General Contents Category
Directly underneath the destination, write the overarching category of the items. Examples include "Winter Outerwear," "Baking Molds and Cutters," "Board Games," or "Home Office Cables." This headline allows you to scan shelves quickly without reading small text.
3. Detailed Item Highlights
List three to five key items or subcategories inside the box. If a box is labeled "Kitchen," specifying "Blender, Waffle Maker, Recipe Books" immediately distinguishes it from another box filled with everyday plates and bowls.
4. Handling and Stacking Instructions
If the items inside are fragile, top-heavy, or sensitive to temperature, indicate this clearly. Use standard designations such as "FRAGILE," "THIS SIDE UP," or "HEAVY - BASE LAYER ONLY" to prevent accidental damage during transport or stacking.
Proven Labeling Systems
Depending on the size of your home and the volume of stored goods, different organizational systems offer distinct advantages.
The Color-Coding Method
Assign a specific color to each room or functional area of your home. For example, blue can designate the primary bathroom, green the kitchen, yellow the children's bedrooms, and red storage for tools and hardware. Apply a strip of colored tape across both the top and sides of the box. Anyone carrying a box can instantly match the color strip to the designated room without reading fine print.
The Numbered Inventory System
For maximum detail without writing paragraphs on cardboard, use a numbered inventory system. Write a bold number on each box (for example, Box #12), and maintain a corresponding physical binder or digital spreadsheet. In the spreadsheet, record the number alongside a comprehensive list of every item placed inside. This approach works exceptionally well for long-term attic or storage-unit storage, allowing you to use digital search functions to pinpoint exact belongings.
QR Codes and Digital Labeling
Digital label generators allow you to print adhesive stickers containing unique QR codes. When scanned with a smartphone camera, the code displays a stored inventory list, photos of the packed contents, and notes on item condition. While this requires initial technical setup, it eliminates the need to open sealed containers to inspect contents.
Practical Placement Guidelines
Where you place labels on a box is just as important as what you write on them. Improperly positioned labels become invisible once containers are stacked on utility shelving or piled together during a relocation.
| Placement Zone | Recommended Content | Visibility Advantage |
|---|---|---|
| Short Side Panel | Room destination and primary category | Visible when boxes are stored on deep shelving units. |
| Long Side Panel | Full itemized bullet points and handling warnings | Easy to read from wide aisles or floor-stacked arrangements. |
| Top Panel Lid | Quick identification number and color tape | Visible when looking down into open staging areas or trunks. |
| Corner Wrap | Color code tape wrapped across vertical edges | Identifiable from multiple viewing angles simultaneously. |
To ensure complete visibility, mark at least two adjacent sides of every box. When boxes are stacked four high against a wall, top labels become hidden, making side markings essential for accessibility.
Special Considerations for Long-Term Storage
Household storage boxes stored in environments with fluctuating climate conditions require extra precautions to keep labels readable over several years.
- Moisture Protection: In basements, high humidity can soften standard cardboard and smudge water-based inks. Always use oil-based or waterproof permanent markers. For added protection, cover handwritten paper labels with overlapping strips of clear packing tape to create a moisture-resistant barrier.
- Plastic Storage Totes: Standard paper stickers regularly peel away from smooth polyethylene plastic bins. Lightly wiping the plastic surface with isopropyl alcohol to remove manufacturing oils before applying industrial-grade labels ensures long-lasting adhesion.
- Direct Sunlight Exposure: If boxes sit in a garage or near attic windows, ultraviolet light can fade standard marker inks over twelve to twenty-four months. Pigment-based markers offer superior UV resistance compared to dye-based options.
Common Labeling Mistakes to Avoid
Many household organization projects lose momentum because of avoidable labeling missteps. Avoiding these common traps keeps your storage system functional over the long term:
- Overusing the Word 'Miscellaneous': Boxes labeled "Misc" almost always become dumping grounds for unrelated items, forcing you to unpack the entire container later to find a single object.
- Writing Only on the Lid: Lids frequently get swapped, misplaced, or obscured when boxes are stacked. Always apply your primary labels directly to the container body.
- Postponing the Labeling Step: Label boxes as you pack them, not at the end of the day. Attempting to remember what went into ten identical containers several hours later inevitably leads to mislabeled boxes.
- Writing Illegibly: Take the extra moment to print clearly in block capital letters. Shorthand or hurried cursive often becomes unreadable months down the line.
By selecting dependable marking materials, implementing a consistent categorization system, and labeling multiple sides of every container, you create a household storage structure that keeps your home organized, functional, and easy to navigate.